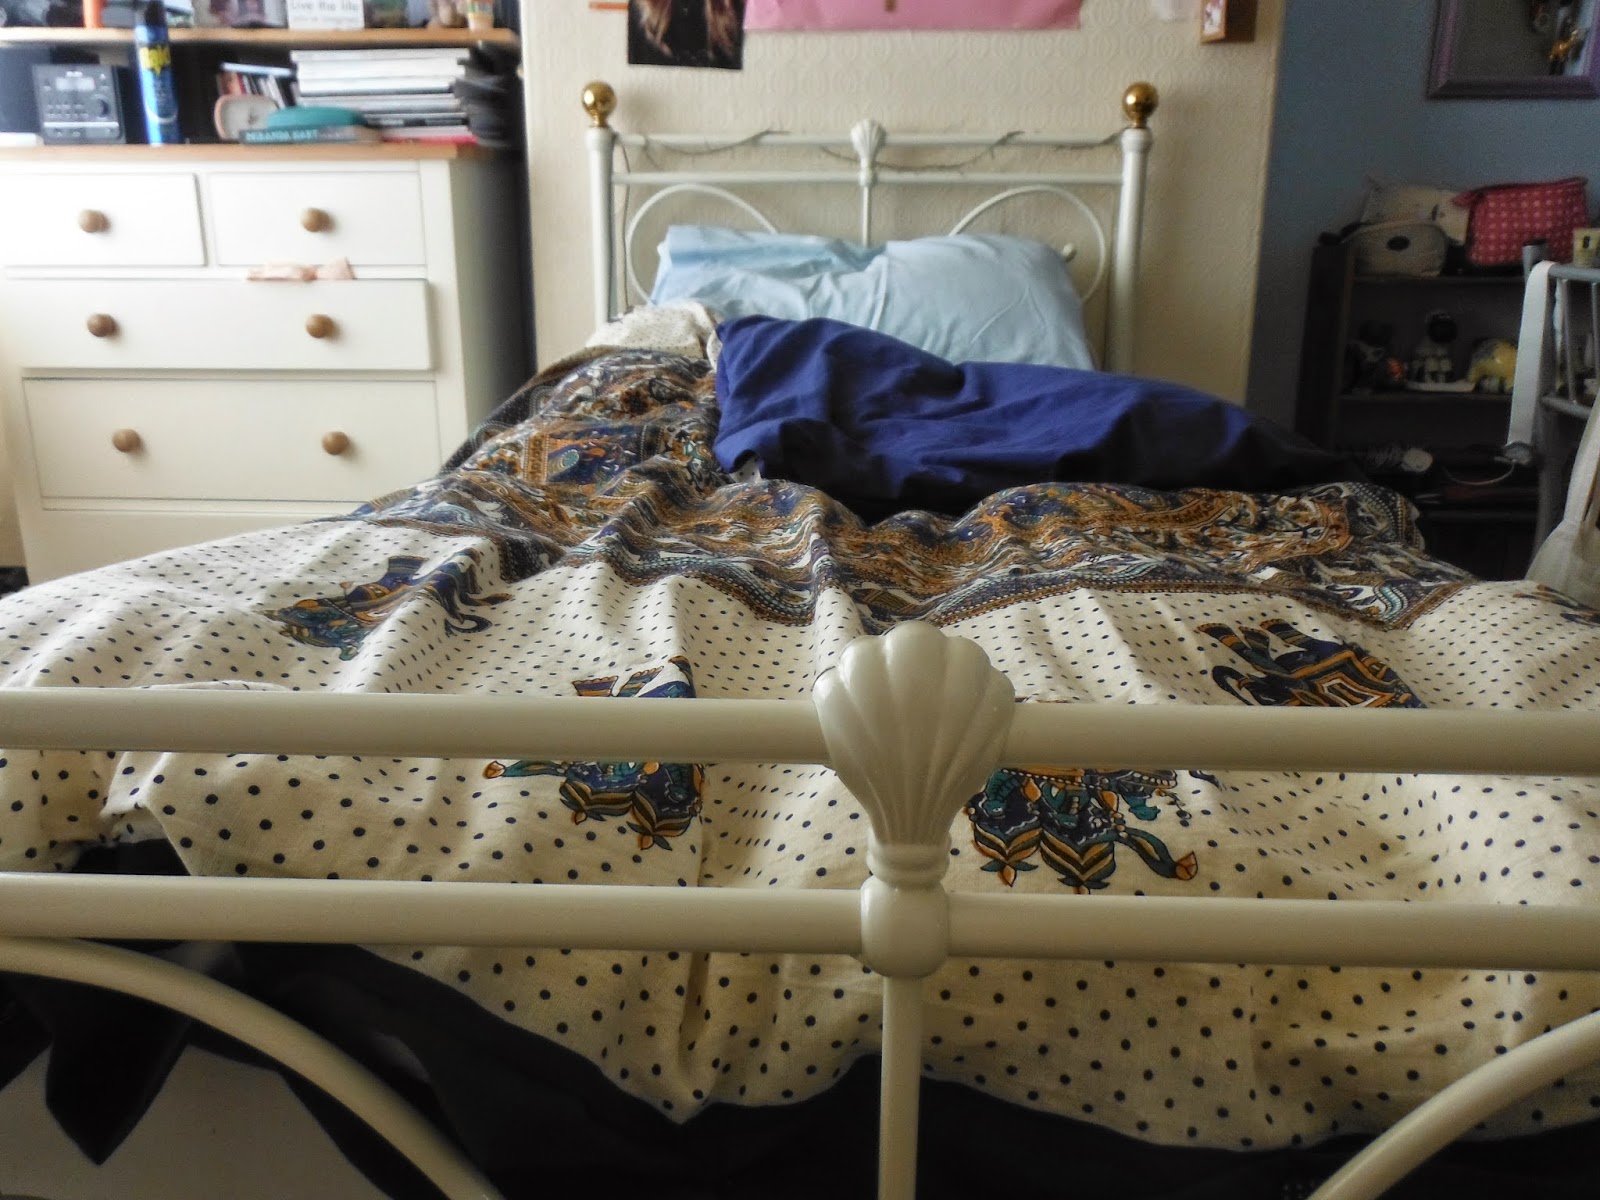
While I was in Jaipur I was in one of the many fabric shops in the Old City, when I spied this lovely block printed fabric which I proceeded to barter for and buy. When I bought it I though about using it as a wall hanging at university, but after assessing the space in university halls I chose to create a duvet cover out of it. So I headed out to the local fabric shop to find some fabric suitable for a bed linen, I ended up purchasing this wonderful blue material. Having measured up current duvet cover and adding 2 inches for seam allowance I pinned the two fabrics together and began to sew. then I added buttons and button holes by hand for want of a machine that can do button holes! Next up a quilt!
 |
| Please ignore the mess around my bed... |
Would you make your own bedding?
XO, Miriam
DIY| Indian Block Printed Duvet Cover
 English Mademoiselle
Monday, August 18, 2014
If you did already know I am a massive fan of Doctor Who and bow ties! So when my boyfriend offered to teach me how to tie his I jumped at the chance, little did I know it was a red satin one, not too dissimilar to the 12th Doctors own tie *fangirls of the Christmas episode tomorrow *. So anyway I have "borrowed" the bow tie in order show the ladies that they aren't just for me and they are definitely COOL.
So if you are wearing a bow tie you need a shirt pronto or the whole things doesn't work, and after that well just play around!
Outfit Idea 1:
I kept this quite casual, perfect for going to the cinema or staying in with friends and family. (#OOTD today!)
 |
| Glittery eyes... |
Outfit Idea 2:
Combining this years summer fashion trends, with my own style and designs obviously there is no other way tot wear a bow tie ;) Moving on, I would wear this to a date night, or to a meal out with friends at a cute new place one of us has found.
Outfit Idea 3:
A little bit school uniform, the skirt matches the bow tie for crying out loud, but before you criticise this I love it, I really like matching small accessories to statement pieces to tie an outfit together. I would wear this to school/college with brogues or Chelsea boots, some thigh high socks and of course some red lippy!
xoxo Miriam
P.S. I have been listening to the Arctic Monkeys and One Republic all day and I just can't handle how good they are any more...
Bow Ties are Cool.
 English Mademoiselle
Tuesday, December 24, 2013
So because I watched Disney's Peter Pan, I have made a Peter Pan collar to wear with Tee-shirts and the like..
So anyway this is what you will need:
Needles and pins
White thread
Spare material
Ribbon
How to make it:
Draw or print off a picture of half of a collar and cut it out:

Now pin it to the fabric and cut it out x4

Pair them up with right sides facing if you have patterned fabric, and sew either with a sewing machine or by hand around the edge, leaving a gap to turn it the right way out:


 Repeat this with the other side, then sew them together in the middle:


Finally sew on some ribbon, I used 2 thin strips on each side:

And this is what it looks like on:

xoxo Miriam
DIY| Peter Pan Collar
![DIY| Peter Pan Collar]() English Mademoiselle
English Mademoiselle
Friday, September 06, 2013
You will need:
1m of your chosen fabric
1m of elastic
A sewing machine (this can be done by hand but it is time consuming)
Thread
Fabric scissors or pinking shears
Lots, and lots of pins
A measuring tape
Before making take the following measurements: Waist and waist to the desired length, for example the knee.
Cut the elastic inch longer than your waist measurement to allow for seams and/or mistakes when making.
Fold the fabric in half, then mark on how long you want the skirt to be plus 2 inches of seam allowance down the fold.
Then stretch the elastic as far as it will go and divide that number by 2. Now measure that length from the fold along the bottom of the fabric and make mark.

Cut the fabric, either using fabric scissors or pinking shears.


Mark 4-6 point on the fabric and the elastic at equal points then pin together. This will help when sewing to get a straight line.
 When sewing the elastic on to the fabric, pull it as far as it can go so when you have finished the fabric will stretch with the elasticated waist band you have created.

Cut off any excess fabric.

Then go over the original stitching to with a zigzag stitch to make sure the elastic was firmly in place, and to improve the overall look of the skirt.
Then iron the skirt in order to get a neat hem line.


Fold the hem once then again to ensure that the edges don't fray.

Sew along the hem using a small zigzag stitch or a straight stitch, it depends on the material which will look better.

Pin together the seam, with right-sides facing. The sew using a straight stitch all the way to the bottom.

And TA-DA you have a lovely skirt to wear!
xoxo Miriam
P.S. The above skirt was made for fellow blogger Eleanor from Coffee with Croissants
P.S.S. All the above materials I bought in a local material factory shop.
DIY: Basic Skirt
![DIY: Basic Skirt]() English Mademoiselle
English Mademoiselle
Tuesday, July 30, 2013